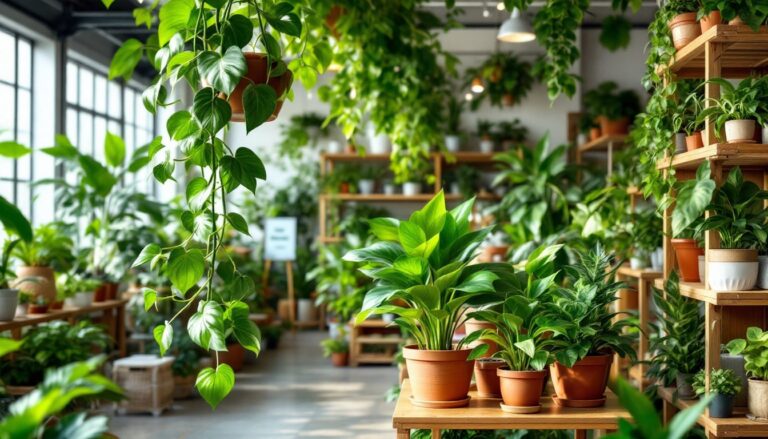
Table of Contents
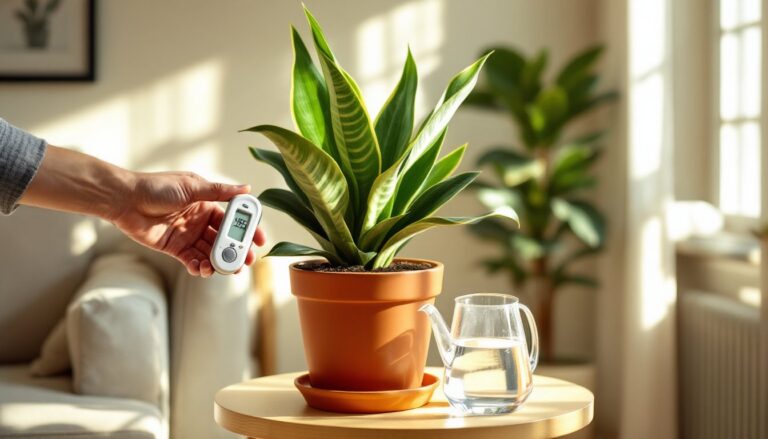
ToggleMost indoor plant parents hit a wall: their foliage stays pale, growth stalls, or leaves yellow even though faithful watering. The culprit? Depleted potting soil. Commercial fertilizers work, but they’re pricey and often overloaded with chemicals your houseplants don’t need. Homemade fertilizer for indoor plants fixes that problem without draining your wallet or creating trash. You’ve got nitrogen-rich coffee grounds in the kitchen, calcium-packed eggshells in the compost bin, and potassium from banana peels you’re already throwing away. This guide walks you through seven proven recipes using kitchen scraps, explains what each ingredient does, and shows you how to apply them correctly so your indoor plants actually thrive.
Key Takeaways
- Homemade fertilizer for indoor plants fixes yellowing leaves and stunted growth by using nitrogen-rich coffee grounds, calcium-packed eggshells, and potassium from banana peels—all kitchen scraps you already have.
- Coffee grounds and banana peel fertilizer is the easiest recipe to start with, requiring just 24–48 hours of steeping and applied every two weeks during growing season for steady, gentle nutrition.
- Homemade recipes work better than store-bought options because they’re fresher, cheaper, avoid synthetic salt buildup in soil, and feed the beneficial soil biology that synthetic fertilizers harm.
- Apply all homemade fertilizers to moist soil at half strength initially, rotate between different recipes weekly to prevent nutrient imbalance, and adjust feeding frequency by season—weekly in spring/summer, every two to three weeks in fall, and stop in winter unless the plant is flowering.
- Compost tea and vegetable scrap fermentation provide balanced nitrogen, phosphorus, and potassium in one application, while wood ash and eggshells supply essential calcium and trace minerals to prevent browning tips and blossom-end rot.
Why Homemade Fertilizer Beats Store-Bought Options
Homemade fertilizer works because it’s built from what your plants actually crave: nitrogen for leafy growth, phosphorus for root strength, and potassium for overall vigor. Store-bought fertilizers ship in plastic bottles, travel thousands of miles, and sit on shelves losing potency. A homemade batch made yesterday? That’s fresh, cost nearly nothing, and lets you control the ratio.
You’re also avoiding synthetic salts that accumulate in soil over time, slowly poisoning the root zone. Kitchen-based recipes break down naturally, feeding both the plant and the soil biology underneath. Plus, most indoor gardeners already have these materials, no trip to the garden center required.
One honest note: homemade fertilizers aren’t instant. They’re gentler and slower-acting than liquid synthetics, which is actually better for houseplants living in pots. Indoor plants don’t need the jolt: they need steady, predictable nutrition. That steady feed is what homemade recipes deliver. Resources like plant fertilizer secrets go deeper into nutrient science if you want to dial in your approach even further.
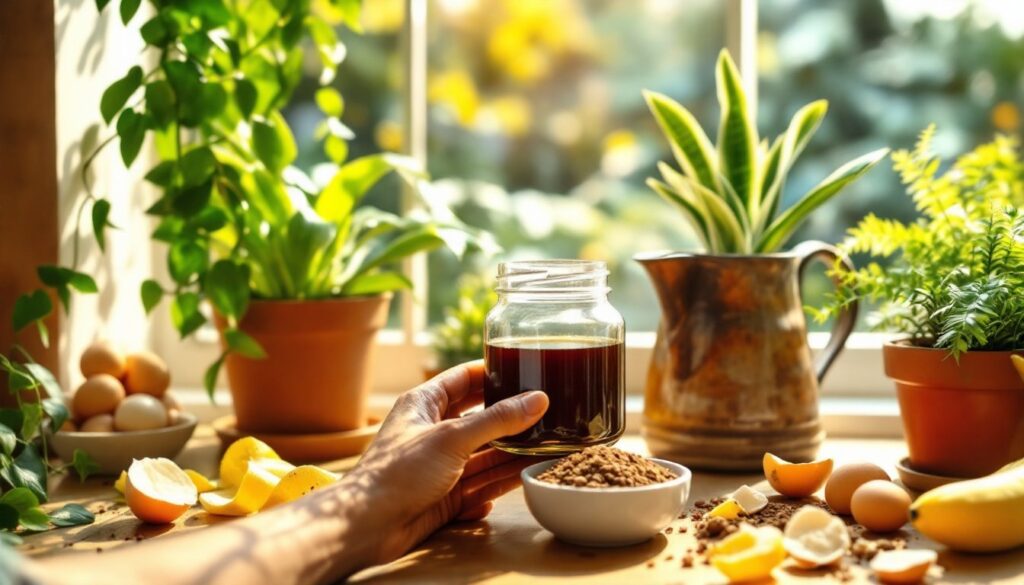
Coffee Grounds and Banana Peel Fertilizer
This is the easiest recipe to start with because you generate the materials daily. Coffee grounds contain about 2% nitrogen by weight, gold for leafy plants, plus trace minerals and slight acidity that many houseplants (ferns, snake plants, pothos) love.
Recipe: Steep one cup of used coffee grounds (not the paper filter) and two dried banana peels in one quart of room-temperature water for 24–48 hours. Strain out solids through a fine mesh strainer. Pour the brown liquid directly into soil until water drains from the bottom. The grounds and peels break down, releasing slow nitrogen and potassium.
Don’t use fresh, unripe banana peels, they don’t contain enough potassium yet. Wait until the peel is yellow with brown flecks. If you notice mold on steeped water, you’ve waited too long or the water is too warm: use it within 48 hours, or keep materials in a cool, dark spot.
Apply every two weeks during spring and summer growth, every four weeks in fall and winter. This mixture isn’t a complete fertilizer (it’s light on phosphorus), so pair it with another recipe once monthly if your plant looks slow to flower or produce new stems.
Kitchen Scrap Solutions for Nitrogen and Potassium
Vegetable scraps, carrot tops, lettuce stems, celery bases, even avocado pits, ferment into a potent nitrogen liquid called “scrap tea.” This is your heavy hitter for fast, leafy growth on ferns, calatheas, and trailing plants.
Recipe: Chop vegetable scraps finely (half a cup total) and submerge in one quart of water in a jar covered with cheesecloth or a coffee filter. Leave it on the counter for five to seven days. You’ll smell fermentation, that’s working correctly. Strain, dilute one part liquid to three parts water, and feed weekly.
Be strict about scraps: use only vegetable material, no meat, oil, or dairy. Moldy or rotting scraps are fine: mold helps break them down. If you see fuzzy white mold, that’s beneficial. Anything green, black, or slimy in the jar (not on the vegetables) means bacteria took over, toss it and start fresh.
Potassium comes from ash (if you roast vegetables at home, collect the char residue) or from citrus peels steeped separately. One dried lemon or orange peel in two cups of water for a week yields a potassium-rich tonic. Apply the citrus liquid every three weeks to flowering or fruiting plants like citrus indoors or orchids.
Eggshell and Wood Ash Recipes for Calcium and Minerals
Calcium deficiency causes blossom-end rot in tomatoes and browning tips on snake plants. Eggshells and wood ash fix that, plus they supply trace minerals often missing in distilled water or old potting soil.
Eggshell Recipe: Crush or blend dried eggshells into powder (bake cleaned shells at 350°F for 10 minutes first to sterilize). Sprinkle one tablespoon of powder directly into the soil surface around the plant, work it in gently, and water normally. The calcium dissolves slowly over weeks. Alternatively, steep one cup of crushed shells in two quarts of water for one week, strain, dilute to half strength, and apply monthly.
Wood Ash Recipe: If you burn untreated wood in a fireplace, collect the ash. Mix two tablespoons into five gallons of water, let settle overnight, and pour off the clear liquid, don’t use the settled sludge. Apply once per season. Wood ash also raises soil pH slightly: skip it on alkaline-loving plants like lavender grown indoors, or use only on acid-loving plants like blueberries or azaleas.
Warning: Don’t burn pressure-treated, painted, or plastic-coated wood. Ash from treated wood contains heavy metals harmful to plants. If you’re unsure about your wood source, skip ash and stick with eggshells, equally effective, zero risk.
Water-Based Fertilizers: Compost Tea and Vegetable Broth
If you keep a compost bin or pile (even a small outdoor one), you’ve got a fertilizer factory. Compost tea is simple: fill a five-gallon bucket with water, add one shovel of finished compost, stir, cover loosely with burlap, and let sit for three to five days. Strain through cheesecloth and feed indoor plants weekly at half strength (one part tea to one part water).
Compost tea is a balanced meal, nitrogen, phosphorus, potassium, and beneficial microbes all mixed in. Use it on any houseplant, any season. If your compost smells like rotten eggs instead of forest floor, it’s too wet or anaerobic: let it dry out a few days or restart with drier material.
Vegetable Broth Method: Boil vegetable scraps (same as the scrap tea recipe, but with heat) in water for 30 minutes, cool completely, strain, dilute to half strength, and apply. Heat speeds nutrient extraction, so broth is ready faster than fermented tea, useful if you need a quick boost. Skip salt and seasoning: plain vegetable water only.
Both methods work best on actively growing plants, spring and summer feeders get results: winter dormant plants don’t need it. Resources like Better Homes & Gardens and The Spruce cover seasonal plant care timing if you want more detail on when to feed your specific species.
Application Tips and Frequency for Indoor Success
Homemade fertilizer is forgiving, but a few practices separate thriving plants from struggling ones.
Measure and dilute. Most homemade recipes are concentrated. Start at half strength (one part fertilizer to one part water) and observe the plant for two weeks. Yellowing or salt crusts on soil mean you’ve over-fed: flush the pot with distilled water for 30 seconds and wait longer between feedings. Slow growth means you can increase frequency.
Apply only to moist soil. Feeding a dry plant burns roots. Water normally first, wait 30 minutes, then apply fertilizer to damp soil. This prevents shock and lets nutrients dissolve evenly.
Track the season. Spring and summer, most houseplants enter active growth and hunger for nutrients, feed weekly. Fall signals dormancy: drop to every two to three weeks. Winter, stop completely unless the plant is flowering (orchids, African violets, winter bloomers need light feeding). Day length and temperature, not the calendar, trigger plant feeding cycles.
Watch for signs. Slow leaf unfurling, pale new growth, or weak stems mean “feed me now.” Leggy, stretching stems mean the plant needs light, not food, fertilizer won’t fix that. Waxy buildup on leaves or leaf tips browning means you’re over-feeding: flush soil and reduce frequency.
Rotation works. Don’t use the same recipe every week. Alternate coffee grounds one week, scrap tea the next, compost tea the third. This prevents nutrient imbalance and keeps soil biology diverse. Think of it like eating the same protein every day versus rotating chicken, fish, and beans, variety prevents deficiencies.
Store batches. Made a big batch of compost tea? Store in a cool, dark place (basement, cabinet) for up to one week in a sealed jar. Longer storage grows mold. If you see fuzzy growth in storage, toss it and make fresh. Freezing works too, ice cube trays hold perfect portions for travel-prone plant parents who want to batch-prep.
Conclusion
Homemade fertilizer for indoor plants costs almost nothing and delivers real results because it’s made from materials you already own and broken down by nature into forms plants instantly recognize. Start with coffee grounds and banana peels, the easiest, fastest entry point, then branch into scrap tea and eggshells as your confidence grows. Large indoor house plants and indoor vine plants thrive on consistent, gentle feeding from homemade sources. Track growth weekly, adjust frequency by season, and never feed dry soil. Your kitchen scraps aren’t waste, they’re fertilizer waiting to happen.